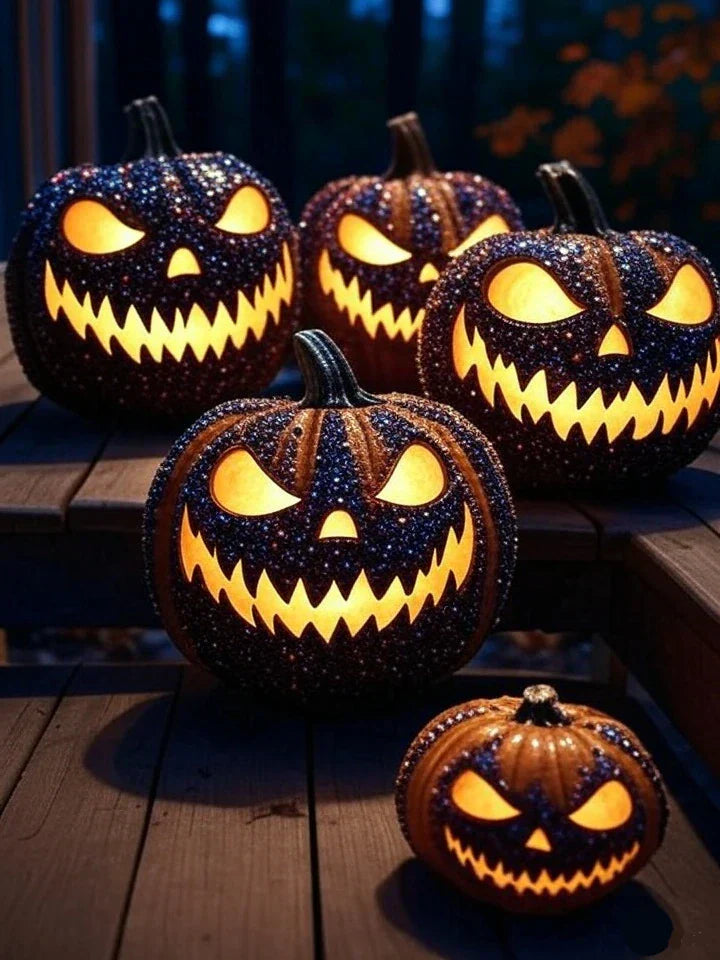
Sparkle Up Your Spooky: Gem-Enhanced Halloween Pumpkins!
Step 1:
Prep Pumpkin: Clean the pumpkin with a damp cloth.
Cut the top hole and scoop out seeds.
Step 2: Transfer Design to Pumpkin
Materials: Black-and-white paper stencil
Pumpkin
Tape or pushpins
Pencil or sharp tool
Pumpkin carving tools
Marker
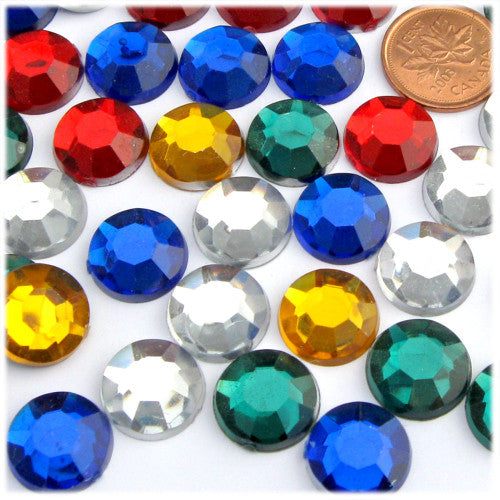
11mm Acrylic Rhinestones: Black or Orange or Purple
Download paper stencil and print.
Print in Portrait for small and Landscape for larger pumpkins.
Attach stencil: Tape or pin the paper stencil onto the pumpkin, smoothing it to fit the curve.
Transfer Design: Poke holes with a pencil or sharp tool along the black lines, spacing holes 1/8 inch apart to mark the pumpkin.
Remove Paper: Take off the paper. If needed, trace holes with a marker for clarity.
Carve: Cut along the dotted outline with carving tools to create the design.
Step 3: Stoning the pumpkin
Download the pumpkin stones pattern
Glue the rhinestones on.
Hot melt glue (from a glue gun) is a quick and beginner-friendly option for this temporary project—offering instant bonding and easy removal.
If hot glue doesn't hold in your trial, switch to E6000 for the best balance of ease and strength.
Tips: Work slowly for accuracy.
Use small tools for detailed designs.
Safety: Be careful with sharp tools and hot tools.
Supervise kids.